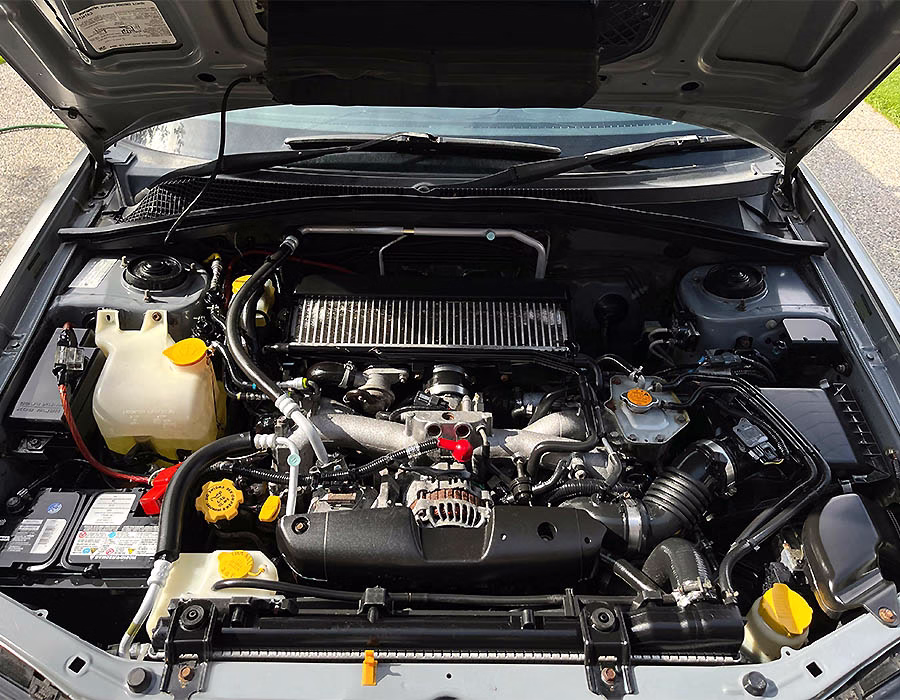
Installing a car wiring harness may seem daunting, but with proper preparation, it’s relatively straightforward. An automotive wiring harness is essentially the “nervous system” of your vehicle, bundling power and signal wires together to facilitate efficient operation. It runs throughout the car, connecting everything from the headlights to the engine computer. Getting this right is crucial: a clean, well-installed harness ensures reliability and safety on the road. In this guide, we’ll walk you through each step—from planning and tools to testing—to help you swap or install a custom wiring harness.
Tools and Materials Needed
Before beginning, ensure you have all the necessary tools and materials ready. Essential daily items include wire strippers, crimping pliers, electrical tape or wire harness sleeves, a multimeter, zip ties, and compatible connectors. You will also need the new wiring harness itself (whether an OEM kit or a custom assembly like Romtronic automotive wiring harnesses). Custom wiring harnesses (such as Romtronic products) allow precise specification of cable lengths, gauges, and connector types to match your vehicle’s exact requirements.
Below is a quick reference table of key tools:
| Tool | Purpose |
|---|---|
| Wire Strippers | Remove insulation from wires |
| Crimping Pliers | Attach terminals or connectors securely |
| Multimeter | Test electrical continuity and voltage |
| Fuse Block/Holder | Centralize fuses for circuits |
| Electrical Tape/Wire Loom | Protect and bundle wires |
| Zip Ties (Cable Ties) | Secure the harness to the body/frame |
| Heat-Shrink Tubing | Insulate and seal crimped wire joints |
Having these tools ready will make installation smoother. Also, inspect the harness and connectors for any damage before you start.
Preparation and Safety
Disconnect the battery. This is critical: always disconnect the battery before working on the wiring to avoid shorts or shocks. Only reconnect the battery when testing is needed.
Study the vehicle’s wiring diagram. Refer to the car’s manual or electrical diagrams to understand power sources and grounding points. A recommended practice is to plan the wiring route based on the vehicle’s electrical plan and 3D layout. Lay out the old harness (if replacing) on a workbench to use as a reference for length and routing. Also note the location of the fuse box and grounds: you’ll need to choose a secure mounting spot for the fuse/relay block that is accessible but out of harm’s way.
Safety gear. When working with high-voltage or under the hood, wear safety glasses and insulated gloves if needed. Follow all manufacturer guidelines. “Safety first” also means avoiding flooded wiring areas and ensuring wires cannot chafe on sharp edges. Use protective loom or tape around the harness where needed.
Step-by-Step Installation Guide
1. Plan the Harness Route
Map out where each wire will go before plugging anything in. Compare your new harness to the vehicle: identify each connector and its corresponding component (e.g., headlights, ignition, sensors). Using the old harness as a guide helps – lay it out and “try to understand wire lengths and routing”. Note important anchor points where you’ll zip-tie the harness. If your harness has labeled wires or colors, match them to the corresponding wires in the car.
2. Secure the Fuse Block and Grounds
Mount the fuse block (fuse holder or relay box) in a convenient spot. It may not be in the exact old location, so adjust accordingly. Ensure it’s well-grounded and accessible. Next, attach the primary ground wire from the harness to the vehicle’s chassis. Tight chassis grounds are vital for a solid electrical system. Double-check ground connections on engine blocks or chassis tabs.
3. Connect Power Wires
With the harness in position, start making connections. A good approach is to begin with power feeds and grounds, then move to peripherals. For instance, connect the main battery cable in the harness to the positive terminal of the battery (once you’re ready to power up) or through the fuse block as designed. Always secure each terminal tightly using your crimp tool, and cover any splices with heat-shrink tubing for insulation.
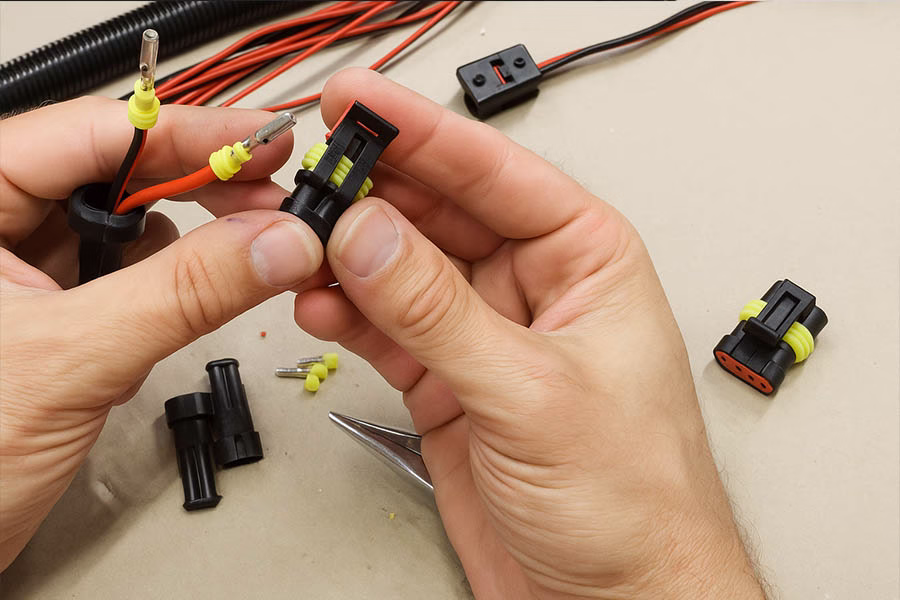
Use wiring diagrams to guide you. Connect each harness connector to its corresponding vehicle component (e.g., sensors, alternator, lights, etc.). Insert each connector fully; you should feel it snap in place. For high-current circuits (such as starter or A/C), ensure that connectors fit snugly and seals are intact to prevent moisture from entering.
4. Bundle and Secure the Harness
Once all wires are plugged in, neatly bundle the harness. Group wires with wire loom or electrical tape and tie them at intervals using zip ties. This prevents chafing from vibrations. Avoid pinching the harness; clips should hold it firmly but not squash the wires. Finally, route any loose pigtails away from heat (like exhaust) and moving parts.

5. Test the Installation
With the harness mounted and connections made, it’s time to test. Reconnect the battery, then use a multimeter or test light to check continuity and voltage on each circuit. For example, after installation, it’s wise to “test the electrical performance with a multimeter or diagnostic tool to ensure current and signals are normal”. Turn on the ignition and cycle lights, horn, and other accessories. Confirm that key items (like headlights, brake lights, horn, gauges) function. If something doesn’t work, unplug and recheck that connector.
After successful electrical tests, mount any covers and replace the interior panels you removed. Finally, take a short test drive: listen for electrical faults or odd behavior (like warning lights). A properly installed harness ensures everything works reliably.
Frequently Asked Questions
A: Yes – if you have basic electrical skills and tools, DIY installation is possible. Follow safety steps (like disconnecting the battery) and work methodically. If you feel unsure about complex electronics, seeking professional help is a good idea. Many enthusiasts successfully install harnesses for vintage cars or off-road builds.
A: Custom harness manufacturers (e.g., Romtronic) allow you to tailor each harness to your vehicle, enabling you to choose exact wire lengths, gauges, and connectors that meet your car’s specific needs. This reduces in-car splicing and simplifies the installation process.
A: Essential tools include wire strippers, crimping pliers, electrical tape or loom tubing, a multimeter, and zip ties. You’ll also need the correct terminals or connectors for your harness. Refer to the table above for a list of standard tools and their respective purposes.
A: Use a multimeter to verify each circuit: check for battery voltage at fuse outputs and continuity to grounds. Power on each accessory (lights, blower, etc.) and watch for correct operation. Any blown fuse or unresponsive function indicates that the circuit’s connections need re-checking. Regularly inspecting the harness for loose ties or chafed wires is good maintenance.
A: Label or tape wires during installation, route harnesses along factory paths if possible, and bundle wires neatly. Use heat-shrink and loom to protect connections. Avoid excess slack: secure extra wire length with coils or ties in out-of-sight areas. A tidy harness not only looks professional but also helps prevent shorts and wear over time.
Table: Common Tool Checklist
| Tool Type | Example Items |
|---|---|
| Cutting | Wire cutters, utility knife |
| Stripping | Wire strippers (adjustable) |
| Crimping | Ratchet crimpers, terminal kits |
| Soldering (optional) | Soldering iron, shrink tubing |
| Testing | Multimeter, test light |
| Mounting | Screwdriver, drill (for mounts) |
| Securing | Zip ties, clamps, electrical tape |
By following these steps and precautions, you can successfully install a DIY or custom automotive wiring harness. Proper installation improves safety and ensures your vehicle’s electrical systems run smoothly.
.avif)
Sam Wu is the Marketing Manager at Romtronic, holding a degree in Mechatronics. With 12 years of experience in sales within the electronic wiring harness industry, he manages marketing efforts across Europe. An expert in cable assembly, wiring harnesses, and advanced connectivity solutions, Sam simplifies complex technologies, offering clear, actionable advice to help you confidently navigate your electrical projects.

