


An automotive wiring harness is like the nervous system of your vehicle – a thick bundle of wires and connectors that routes power and signals throughout the car. Because these harnesses endure heat, moisture, vibration, and chemical exposure, faults can and do occur. Common symptoms include blown fuses, flickering lights, dead components, or odd warning lights. To prevent a breakdown, it’s essential to inspect and test your harness regularly. The following steps and tips will help both DIY enthusiasts and pros pinpoint shorts, opens, or corrosion in the wiring.
Essential Tools and Safety
Before starting, gather basic tools. A digital multimeter (DMM) is indispensable – it can measure voltage, resistance, and continuity. You may also use an inexpensive test lamp (also known as a test light) for quick power checks, but note that it can’t accurately quantify voltage drop and may overload sensitive circuits. Grab jumper wires or a test probe for bridging circuits, and always work with the ignition off and battery disconnected when possible. Wear safety goggles and keep flames away from the engine bay. A scan tool or code reader is helpful too, as the engine computer often stores codes related to wiring faults. By using a meter and scanner, you can verify power and ground on circuits and measure voltage or resistance to identify potential problems.
1. Visual Inspection
Start with a thorough visual check of the harness. Look for frayed or broken insulation, exposed wires, crushed sections, or scorched areas – these often indicate shorts or high resistance spots. Inspect connectors and terminals: make sure plugs are fully seated and that pins aren’t bent or corroded. Wiggle each connector while monitoring a voltmeter or symptoms; if flickering issues change, a loose connection is likely. Also, check that the harness is securely fastened away from hot parts and moving pulleys – chafing is a common cause of wire breaks over time. Finally, glance under the car for any wires dragging or snagging on road debris. Taking time to clean and tighten connections now can avoid hours of testing later.
2. Use Onboard Diagnostics (OBD-II)
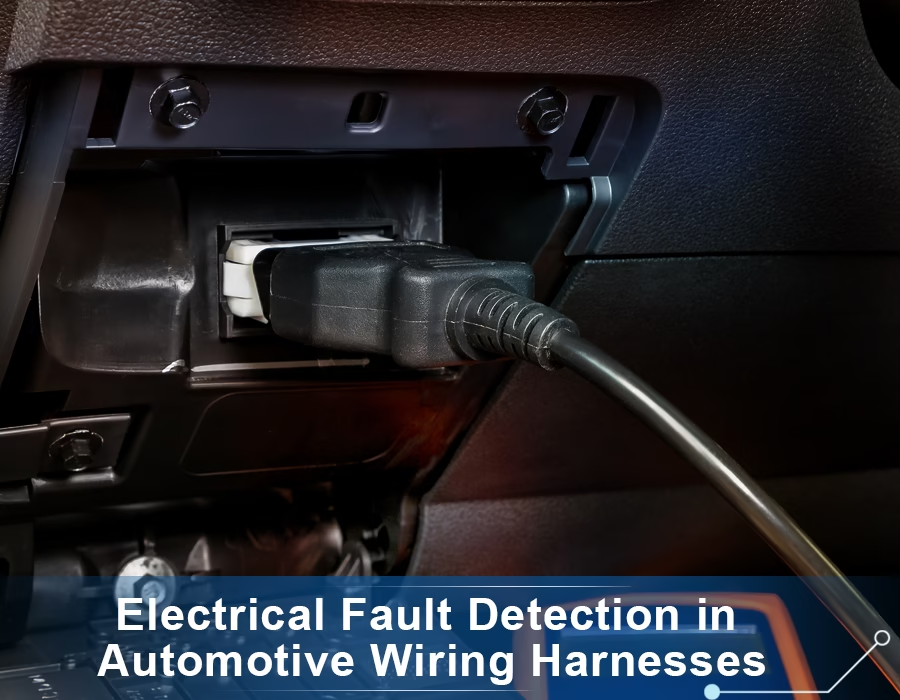
Most modern cars will flash a warning light, such as “Check Engine,” if the ECU detects a wiring problem. Read any stored codes with an OBD-II scanner. Codes such as “circuit open” or specific sensor errors can help pinpoint the affected harness circuit. Even non-specific codes (such as misfires) may be caused by wiring faults, so review relevant wiring diagrams if the codes don’t immediately match a single sensor. If the code is intermittent, try running the engine while back-probing suspected wires with the DMM. Sudden voltage spikes or drops (visible on the scan tool) or codes disappearing when you hold a connector can confirm an open or short circuit.
3. Continuity and Resistance Testing
With power off and the battery disconnected, use your DMM to check the continuity of each suspicious wire end-to-end. Switch the meter to Ω (ohms) mode and probe the two ends of the circuit (for example, from a sensor connector to the fuse box). A standard good wire will read near 0 Ω (very low resistance). Readings significantly above ~1 Ω–2 Ω suggest a break or high-resistance joint. For long runs, break the circuit at a convenient splice or connector so you can test one wire segment at a time. Also test each wire’s connection to ground (mainly black or chassis wires) by placing one lead on the wire and the other to a clean chassis ground – any infinite or very high ohms means a break in the ground path.
Quick Tip: A small table summarizing common symptoms and tests is below for easy reference.
| Symptom | Likely Issue | Test/Action |
|---|---|---|
| No power (dead circuit) | Open circuit (broken wire or fuse) | Check fuse; use DMM continuity on wiring from component to power source |
| Blown fuse or melted wire | Short to ground/overload | Isolate circuit; connect test light or jumper to fuse/connector and open branches one-by-one until light goes out |
| Dim/flickering lights | High resistance/poor ground | Perform a voltage-drop test: probe across the wire or ground under load. Clean/repair ground connection |
| Erratic sensor readings | Intermittent open or short | Wiggle harness while monitoring on scanner or multimeter. Look for change. Check connector pins and insulation. |
| Check Engine light on (wiring-related code) | Faulty harness or connector | Read code with OBD-II. Back-probe and test voltage/continuity on that circuit |
4. Voltage Drop Testing
For circuits carrying current (especially high-draw circuits, such as starters, fuel pumps, and lights), a voltage-drop test is efficient. With the circuit powered (usually by engine cranking or key-on), measure the voltage between the battery positive terminal and the wire end (power side), and between the wire end and the battery negative terminal (ground side). Any drop above about 0.2 volts indicates excessive resistance. In practice: set the DMM to a low voltage range, place the red probe on the battery positive terminal, and the black probe on the connector pin at the far end of the circuit. Activate the circuit (e.g., have an assistant crank the starter circuit, or turn on the lights) and check the reading.
Repeat on the ground side (swap probes to the battery negative and the component side ground). Ideally, you should see <0.2 V loss in each leg. If it’s higher, trace the harness: clean corroded connectors, tighten grounds, and test wires segment by segment. Remember that voltage drop testing requires the circuit to be active – a passive ohmmeter test alone won’t reveal this hidden resistance.
5. Ground Circuits
Ground faults can cause numerous problems, so it’s essential to check the engine and body grounds promptly. With a DMM set to millivolts, clip the red lead to the engine block (or chassis) and the black lead to the negative battery terminal. Crank the engine briefly and note any voltage (should be <0.1–0.2 V). Excessive voltage here indicates that the engine ground strap is either weak or corroded. Next, test the body ground (clip the red wire to the firewall or frame, and the black wire to the battery).
Again, heavy loads (such as cranking or having lights on) should still keep this under a few tenths of a volt. Any abnormal reading means clean or replace ground cables or move grounds to better contact. Since modern modules require very low currents, even a 0.3 V voltage drop in a ground wire can cause erratic sensor voltages or false OBD codes. Fix any ground issues first – it often resolves multiple mysterious symptoms.
6. Inspect for Shorts and Opens
If a circuit still seems dead or keeps blowing a fuse, it’s time to isolate it. Use a jumper wire or test lamp on the fuse block (or use the meter set to continuity with a fused power source) to force current through the circuit. Then, methodically disconnect branches: unplug sensors, relays, or connectors one at a time until the short disappears (the lamp goes out or the current drops to zero). The last segment you disconnected contains the fault. A physical gap (open) can also be located by touch: gently bend or tap the harness while testing continuity – if the meter beeps intermittently, you’ve found a break.
Be cautious not to back-probe connectors with the ignition on, as this can damage terminals. If necessary, carefully strip the insulation and solder or crimp a new section of wire. The goal is always to establish a clean and secure connection.
Maintenance Tips for Longevity
Regular maintenance prevents many wiring issues. Perform routine inspections of your harness, especially after harsh weather or off-road driving. Ensure all clips and ties are intact to prevent the harness from rubbing or bouncing loose. When servicing the engine, ensure that the mounting bolts don’t pinch long wires and that no sharp edges are cutting into the insulation.
Keep connectors clean: spray them with electrical contact cleaner and apply a dab of dielectric grease to repel moisture. Ensure the electrical load is appropriate – don’t overload circuits with too many amps (for heavy accessories, run a dedicated power feed with proper gauge wire). Finally, keep the battery terminals and ground straps free of corrosion; clean metal-to-metal contact will minimize voltage drop. These steps help your wiring harness outlast the vehicle itself and avoid pricey repairs.
Handling Rodent and Heat Damage
Don’t overlook environmental threats. Mice and squirrels can chew through engine wiring, sometimes causing thousands of dollars in damage. To deter pests, store the car in a garage if possible, remove food/trash from the cabin, and consider using traps or natural repellents (such as peppermint oil or mothballs) around the engine bay. Some users even wrap harnesses with rodent-deterrent tape. Also, be aware of heat: inspect wires near the exhaust or turbo for melted insulation. In hot climates or under a supercharger, routing extra heat shields around the harness can save you headaches. Checking these things during routine servicing adds preventive value and keeps your harness in good health.
Frequently Asked Questions
A: Minor faults, such as a single broken wire or a corroded connector, can often be fixed by a careful DIYer using the steps above. However, diagnosing a complete harness replacement is a complex process. If your troubleshooting isn’t quickly identifying the issue, or if many circuits are involved, a pro with specialized tools (e.g., high-end scan tools or even trace generators) may save time.
A: A digital multimeter is the most versatile tool and should be your primary choice. It can quantify the exact voltage drop and resistance. A 12V test lamp can help locate a dead short, but it won’t tell you how severe the drop is and may draw too much current on delicate circuits. In short, use the lamp for a quick, rough test (such as finding a ground path), but rely on the DMM for confirmation and precise diagnosis.
By following these steps and checks, you can pinpoint most wiring harness problems and keep your vehicle running safely. Regular inspections and clean connections are your best defenses – the actual testing methods ensure any hidden faults are found before they strand you on the road.
.avif)
Sam Wu is the Marketing Manager at Romtronic, holding a degree in Mechatronics. With 12 years of experience in sales within the electronic wiring harness industry, he manages marketing efforts across Europe. An expert in cable assembly, wiring harnesses, and advanced connectivity solutions, Sam simplifies complex technologies, offering clear, actionable advice to help you confidently navigate your electrical projects.

